Fujifilm Profiles : Lightroom Presets
Fuji are well known for their experience with colour film, made from a range of cameras from small pocket cameras right up to the Arri movie camera and alike. Many of the great movies you’ve seen were shot using Fuifilm stock. So it’s no wonder that Fuji include some of their film colour science in their newer digital X-Cameras, like the X-PRO2 I like to shoot with.
You can set up the camera to what ever film profile you prefer and tweak it a little to your taste to give it a look thats right for your eye. For me I like Classic Chrome, Provia and Acros for B&W. One of the advantages of shooting digital raw is getting to change these things after the shot, either in camera with the build in JPEG engine or with an editing program like Fujis own X RAW STUDIO or Adobes Lightroom which is probably one of the most used applications for editing digital camera files.
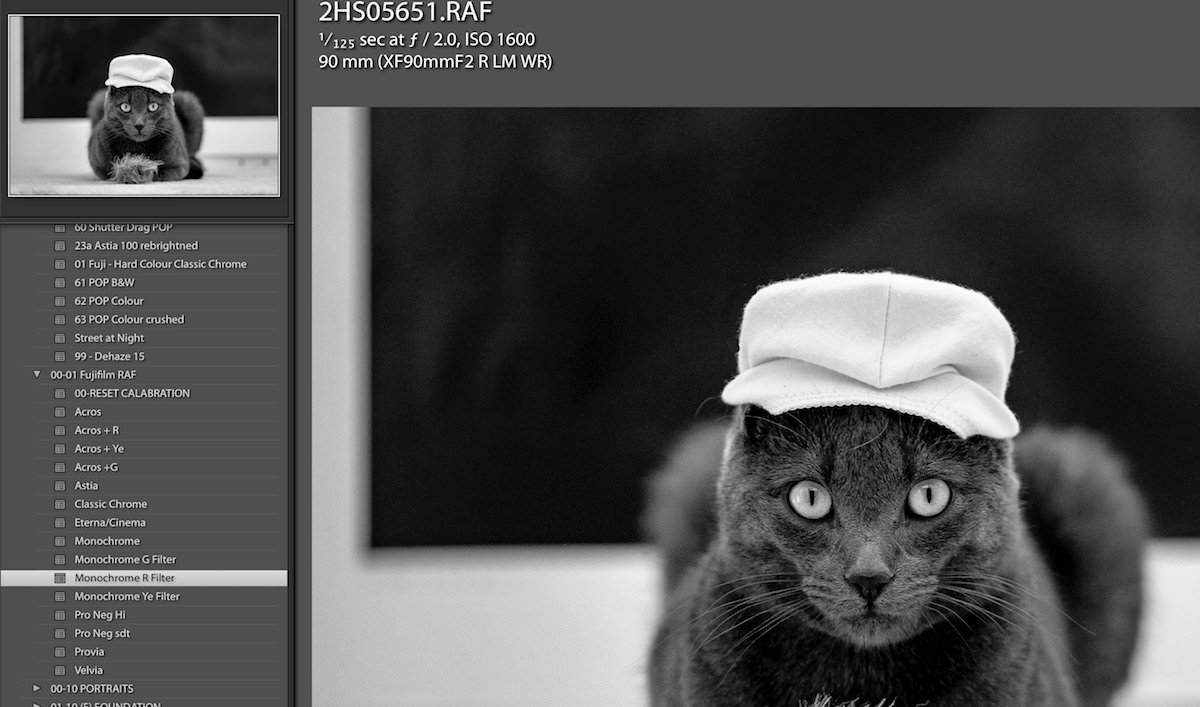
Lightroom lets you access the camera profiles and emulates the look that the camera gives, using Fuji’s colour science, within the program but it can take a lot of clicking of menus to get to and change to the one you prefer & with the latest update to 7.3 you now have a few more clicks although they did move that part of the app to the first menu item saving you scrolling to the bottom of the page each time. To make things easier I built some Lightroom Presets so I can quickly pick the film simulation I want for a photo and swap between with ease with just one click. I get asked a bit about these so I’m including them here for you to download and install.
To install the presets into lightroom, download the Zip file below and unzip it, right click on a preset group (or make a new one) in the presets section of the develop page and select import, then navigate to the unzipped folder containing the presets and select the ones you want, click IMPORT. That’s it you are done just remember these will only work with Fujifilm .raf (raw) files.
Kim is a professional photographer & Official Fujifilm X-Photographer living in Celbridge Co Kildare, Ireland. When not shooting Portraits and Weddings or Corporate & Editorials he can be found searching out the best coffee shops or running round after his two kids.
Get 20% off Unlimited Photo Storage & Galleries with Smugmug | Download Capture One Fujifilm
 Previous post
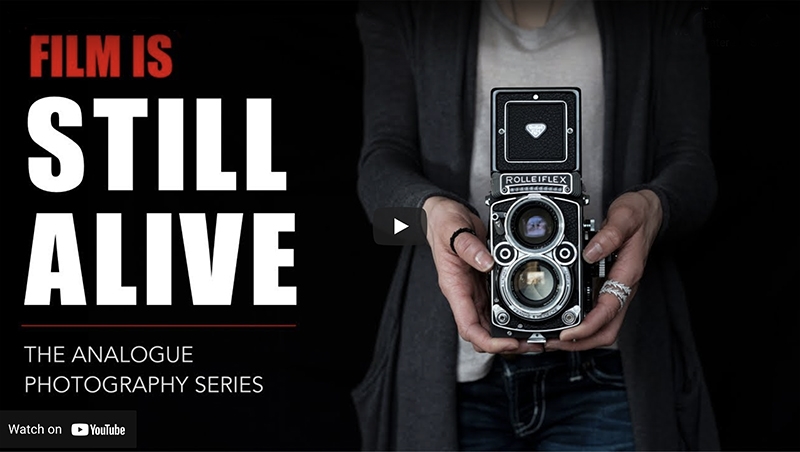
I Shoot With… Film
Previous post
I Shoot With… Film
 Next post
Coffee And Fujis
Next post
Coffee And Fujis