Cutting the Tethering Cord – Tether Tools Air Direct
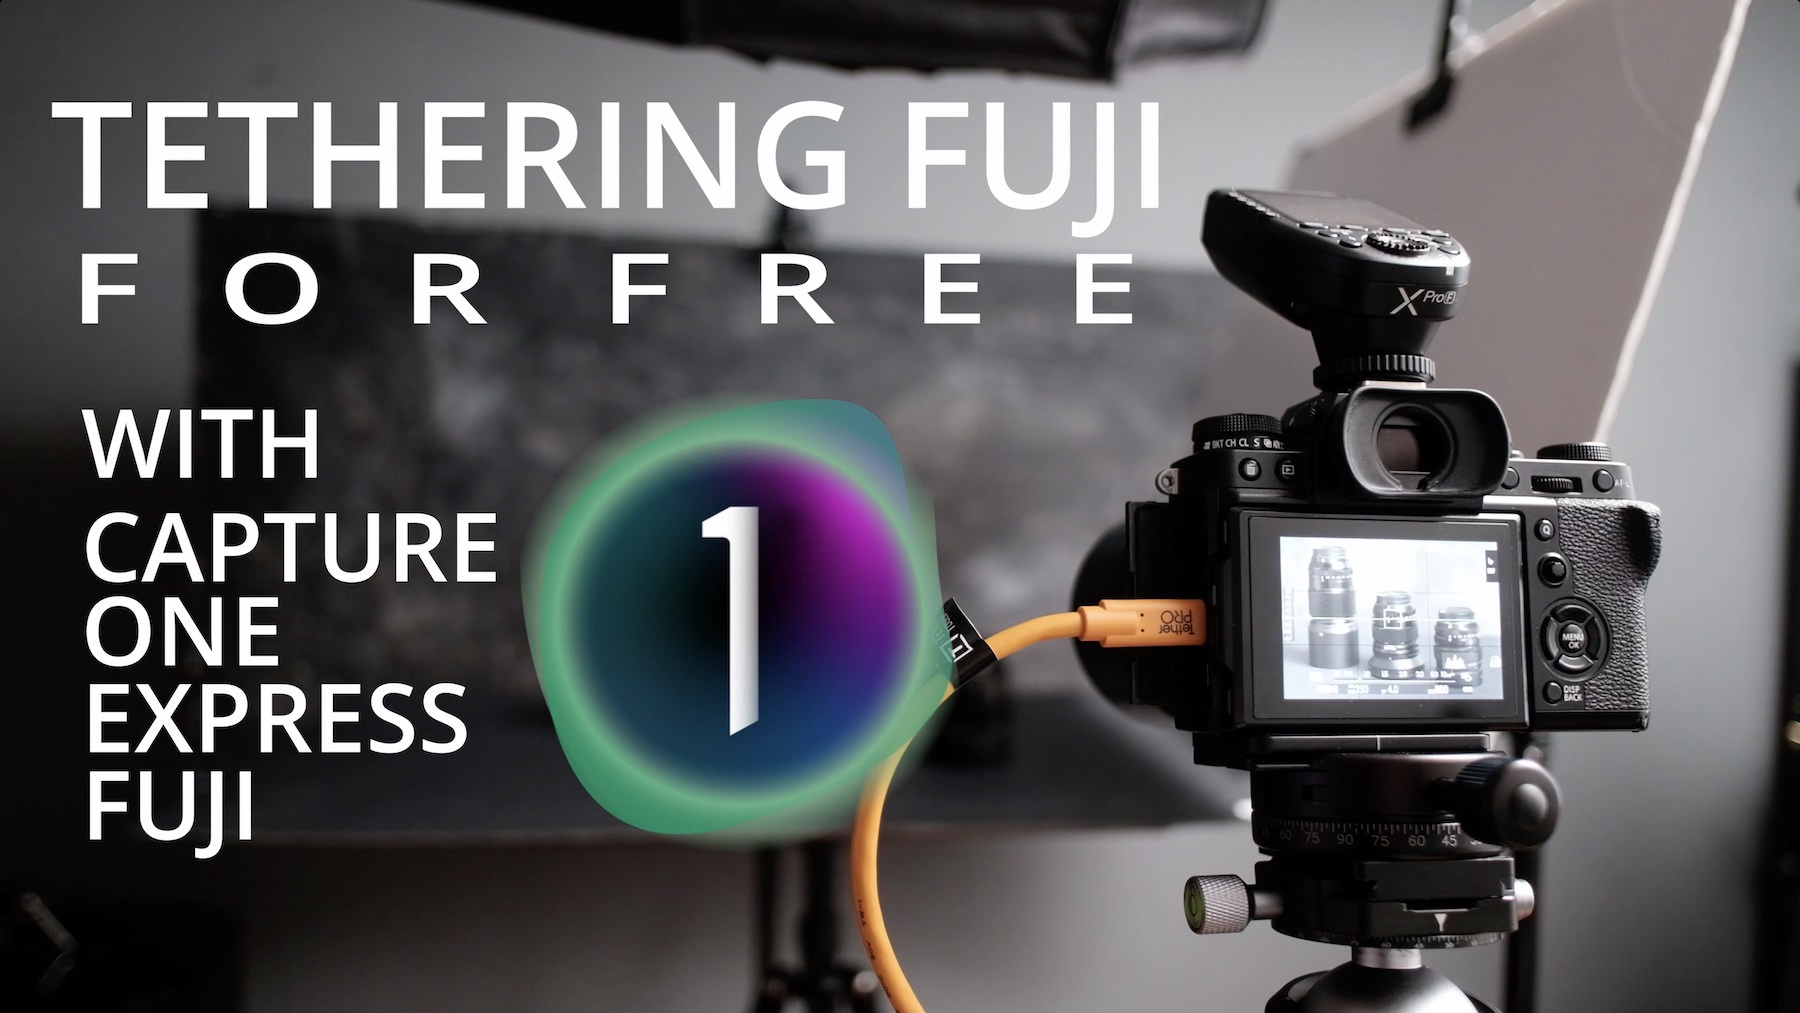
Any chance I get I’ll choose to tether my camera, being able to see the images you just shot a second ago appear on the big screen of a computer & having your grade applied by apps like my preferred editor Capture One is simple the best way of working, paticullaray when shooting headshots and portraits as well as more set scenes like product of course.
In this video I have a look at Tether Tools new Air Direct system, this allows you to tether over WiFi up to approx. 60m away. This app works well in Windows 10 but… unfortunately it will not work on the latest Mac OS (10.15.5) so, as always, I looked at a solid work around & installed the last Mac OS it works 100% on (10.14.1) on an external SSD and restarted my Mac from that drive. Works great now & below is how you can do the same.
Making a Bootable SSD in Mac OS
What you will need is an external drive, an SSD is best as it will be fast. This drive will need to be formatted to OSX Journaled to allow it to be a boot drive. You can do this in the Disk Utility on your Mac.
Then you will need to download a copy of the operating system needed DIRECTLY from Apple:
https://support.apple.com/en-gb/HT210190
Here I’m using Mojave but if you need to install a different OS just replace ‘Mojave’ with the name of the OS you are installing.
Next you can go ahead and install this OS onto your freshly formatted SSD.
- Make sure the “Install macOS Mojave.app” file is located in the Applications directory.
- Connect your Formatted SSD to your Mac.
- Launch the Terminal app on your Mac. (Don’t worry if you have not used this before, this method is copy and paste).
- Replace the volume name (your SSD name) from Untitled to what even you have named your new SSD ( when you formatted it to OSX Journaled in Disk Utility ). The next step will erase anything on the external SSD.
- Copy and paste the following code into the Terminal app, remembering to change the name of the SSD from Untitled first:
sudo /Applications/Install\ macOS\ Mojave.app/Contents/Resources/createinstallmedia --volume /Volumes/UNTITLED --nointeraction && say Mojave Drive Created
Once you paste that code in press the return key and you’ll be asked for your computers admin password, enter it and let the magic happen. This can take a bit of time but once you see the message: Install media now available at “/Volumes/Install MacOS Mojave” your are done and you now have a nice new install on a bootable disk.
To boot from the new SSD simply plug it in and Oper up your system preferences, navigate to Start Up disk and select the new SSD with Mojave on it. You might need to unlock the padlock on the bottom left of the preferences panel by clicking on it and entering your admin password. Once you have selected the correct disk click on restart and confirm the restart. The Mac will restart running from the new SSD, Mojave. Once the Mac has started you walk through the usual install procedure and then you can download all the apps you’ll need, I just have Capture One, ADU (Tether Tools App) and Ecamm for now as that’s all I need for this.
I keep the little T5 Samsung SSD stuck on to the lid of my MacBook with a bit of velcro, that works well.
Any problems let me know in the comments on Youtube, thanks for reading.
Kim

Kim is a professional photographer & Official Fujifilm X-Photographer living in Celbridge Co Kildare, Ireland. When not shooting Portraits and Weddings or Corporate & Editorials he can be found searching out the best coffee shops or running round after his two kids.
Get 20% off Unlimited Photo Storage & Galleries with Smugmug | Download Capture One Fujifilm
 Previous post
Fujifilm XF 50-140mm F/2.8 R LM OIS WR Review

