Setting up Tools And Tabs in Capture One Pro
This is the first in a series of posts about the photo editing app Capture One by the Danish camera company Phase One. Today I’m going to show you how to set up the Tools & Tabs within the app as well as a one click setup to give Capture One the layout of Adobes Lightroom, if you have spent time using Lightroom and are looking for something new it can be daunting to switch as the learning curve can be difficult. Lightroom and Capture One both to the same job, they are editors from your images, but they go about it in different ways & I think Capture One handles that process better than Lightroom ever did. That prompted me to consider Leaving Lightroom permanently a few years ago and with the launch of the fully Fujifilm supported Capture one Pro Fuji I was able to do just that, I didn’t even install Lightroom on the new editing iMac here in the studio, can’t use what you don’t have after all 😁
The Workspace options
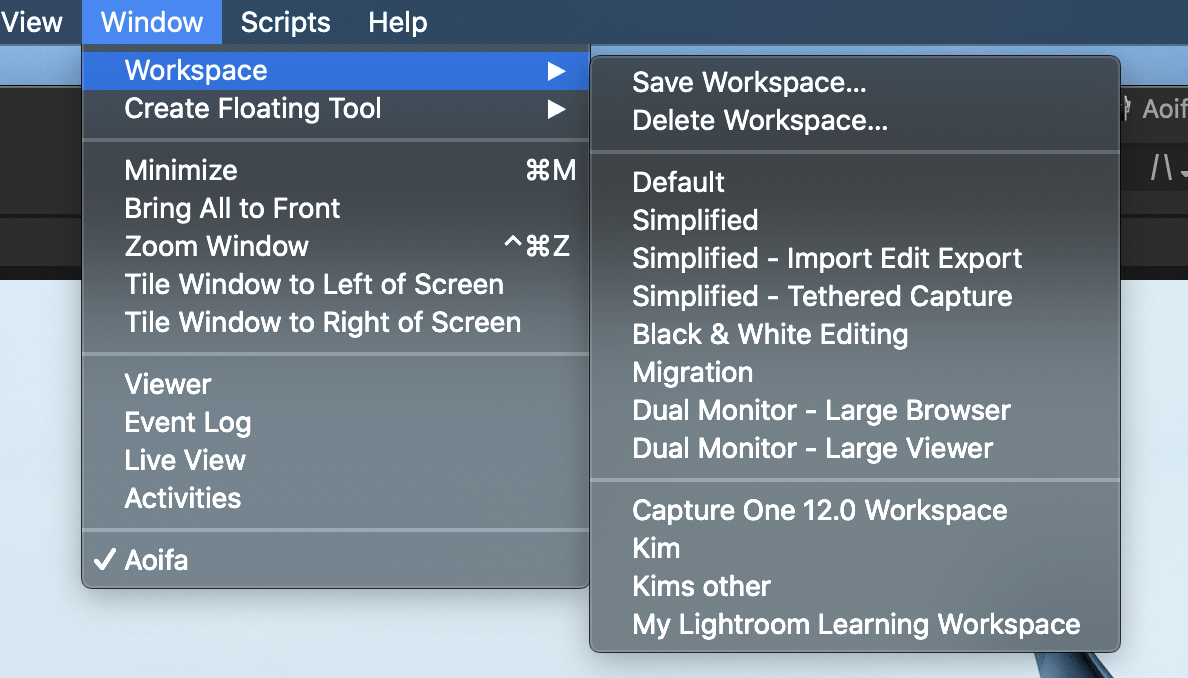
Part of what I really like about Capture One is the ability to tailor the layout to best suit your requirements, there are several built in workspaces that you can try out, you access these through the Windows menu item clicking on Workspaces and then on your preferred option. You can further change the layout as well as the items available within any tab that you might need & save that as a custom workspace that you can choose or load as default. This is an excellent option and it’s very easy to do: click on Save as Workspace in the same menu you used to select the workspace you wanted & there is will be right in the list for all of time just for you. Nice.
The Migration Workspace
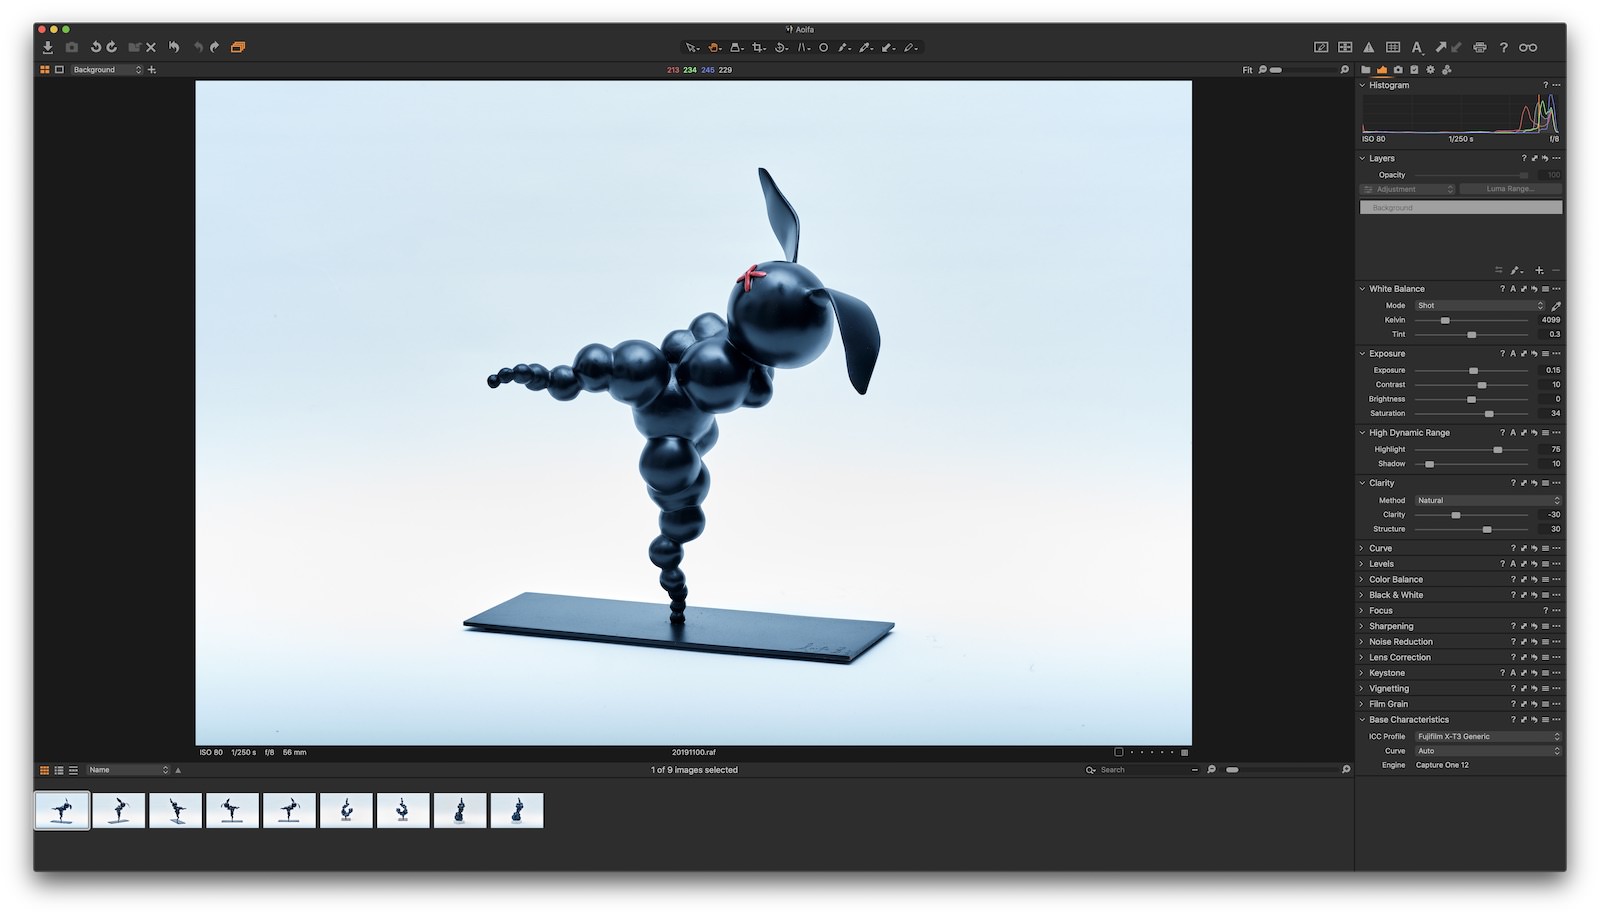
This is perhaps the best inclusion in the pre defined workspaces that are included with Capture One Pro. The Migration Workspace mimics the look of the classic Lightroom layout, with the editing tools on the right and the film strip look on the bottom. In the righthand tab are all the editing tools you will be use to (and a few that will be new), really you should download Capture One Pro and have a play with it so you can see this in action for your self & choose the Migration Workspace if you are use to the layout of Lightroom as this will give you a much smaller learning curve and allow you to see and use some of the different features that Capture One offers.
Phase One offer a 30 day trial of Capture One Pro, this is a fully functional trial with no limits, you just need to register on the Capture One site and click on download and when you install the app choose trial. If you are a Fujifilm shooter (or Sony) Phase also have an slightly thinned out version called Capture One Express Fuji (or Sony). This is FREE to use with no time limit and really is very functional for editing images with, all the basics are covered including colour correction & HDR, exposure and film sims, you will miss out on layers and tethering but if that’s not interesting to you then you might just get by fine with the express version & you can always update you licence at any stage to the full version if you need more. I use the express version for a month to see and I could almost get by, I need tethering for work.
You can grab the trail to download by clicking here

TABS
Tabs are the little icons on the top of the tools section, the Tabs divide up the the various tools options (exposure, colour editor etc) into different sections that you can choose by clicking on one of the tabs. You might set these up to suit your workflow. In the Migration Workspace these are, Library, Exposure, Capture, Adjustments, Output & Batch. Exposure being set up with almost all of the tools a-la Lightroom. The Default Workspace has more Tabs showing and divides up the tools into more sections, including a dedicated one for Color adjustments. Having less tools available on a page can be less distracting and I find it easier to move about when it’s set that way.
You can remove and add Tabs simply by right clicking anywhere on the tabs/tools section and choosing Add Tool Tab, here you can cheese from a good selection of names or simple add your own custom name. If you do add a new tab it loads up the Tools that are associated with it, for example choosing to add the Colour Tab will create the tab loaded with the Colour options. If you choose to create a custom one it will load a blank Tab that you can add what ever tool you need to..
You can also re arrange the order the tabs are in by holding command (Mac) or Alt (Windows) and dragging the Tab to the desired position. Super easy to do.
Tools
Tools are all the various edition options separated into little groups, for example the Exposure Tool contains exposure, contrast, brightness & saturation sliders. The withe balance tool contains the kelvin and tint sliders and so on. These tools can be added and removed from any tab and they can also be dragged up and down the order by simply grabbing the one you want to move with your pointer and drag/drop into the place you need, really easy to do, this way you can change the workspace to best suit how you like to edit and place the tools in order to help speed up your editing. You can of course place the same tool into any or all the tabs, you might want the histogram tool in more than one for example, just select the tab and add tool by right clicking anywhere within that tab, you will see a new menu/options open up arranged in alphabetical order, click the tool you want the it places into the open tab. From there you can drag it into the position you need.
That’s a basic overview of the tools and tabs set up, I’ll be adding much more detailed content over the next year diving into each tool and section showing how I use them to help me create. Thanks for reading & if you’d like to try Capture One you can click the link below to download your trial.
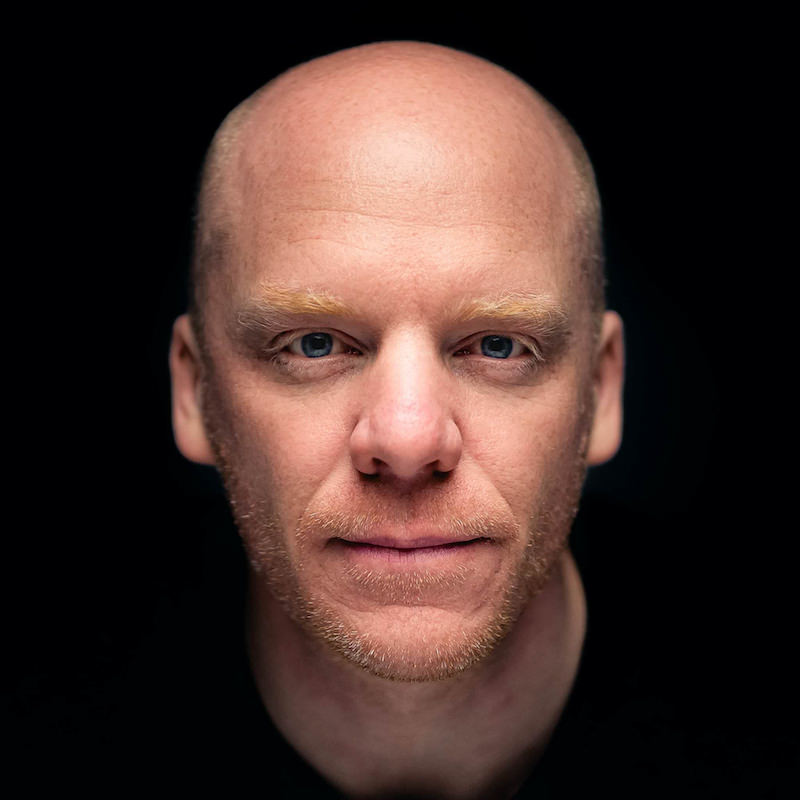
Kim is a professional photographer & Official Fujifilm X-Photographer living in Celbridge Co Kildare, Ireland. When not shooting Portraits and Weddings or Corporate & Editorials he can be found searching out the best coffee shops or running round after his two kids.
Get 20% off Unlimited Photo Storage & Galleries with Smugmug | Download Capture One Fujifilm

